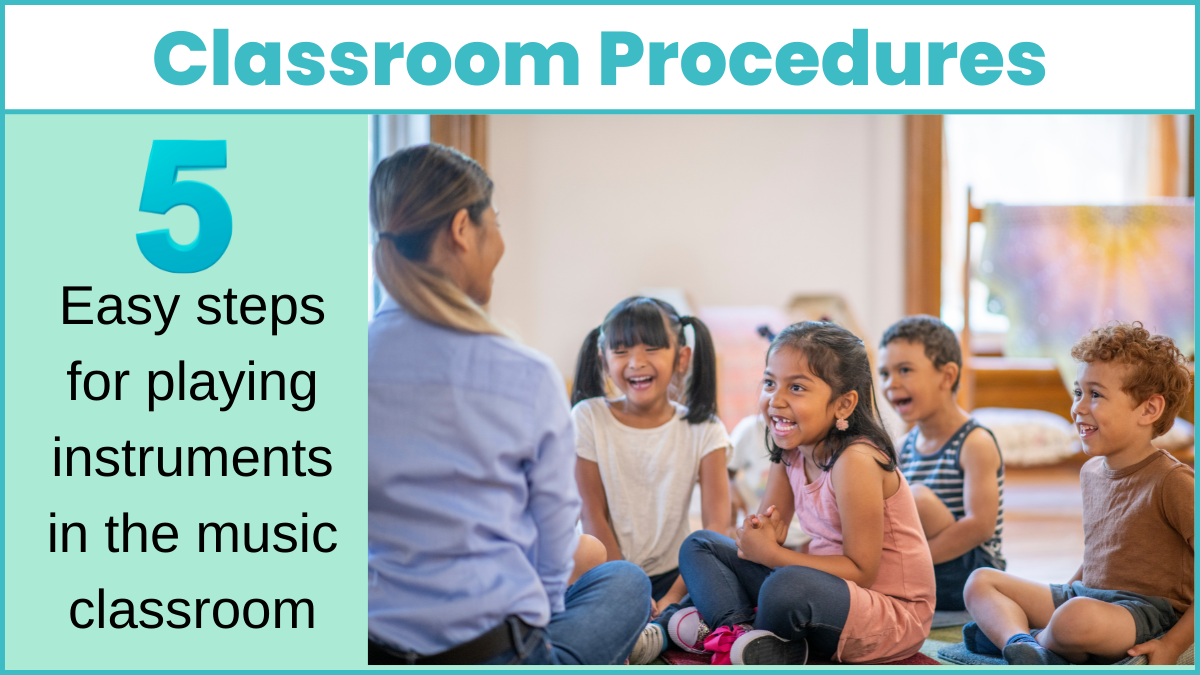
Classroom Procedure: 5 Easy steps for playing instruments in the music classroom!
Are you ready to break out playing instruments with your elementary classes? Music classroom procedure will set you up for success, so you can teach music with that hands-on approach students crave! Get students rock’in within minutes.
Examples of Classroom Routines when playing instruments
Your room is ready for music and instruments! Ukuleles are hung perfectly for little hands. Boomwhackers are brightly displayed eager to be used, and rainbow tubanos beside wooden xylophones beg to be used. You have seen it done on YouTube or attended a local workshop where it all looks so easy. But now students are playing out of turn, one is crying, they can’t keep a beat, and are coming very close to breaking the drum head, or so it seems, and we don’t even want to talk about boomwhackers.
Well great! Now you know all the things that can and will go wrong. That’s a great place to start for setting up a classroom procedure.
Games for the Music Classroom
Are you looking for games to play in the music classroom that are great time fillers and fun ways to practice and reinforce music skills and standards? Get my best music games to use immediately for free right here. I’ll stop by from time to time with new inspiration, and tried and true tips and tricks! Let’s get started!
#1 Plan for the worst and get the best!
In my early years of teaching the sweet little kindergarteners were playing steady beats on rhythm sticks. Everyone was focused and trying to tap sticks all together. Till one little child excitedly brought his sticks up so fast he hit the boy next to him in the forehead who started to cry. Oh gosh, I had to file an accident report, contact parents, talk to the classroom teacher, principal, and school nurse. It was all such a problem that I never wanted to play instruments again. That one incident shaped the way I introduce playing instruments and now I have a lot of fun with it.
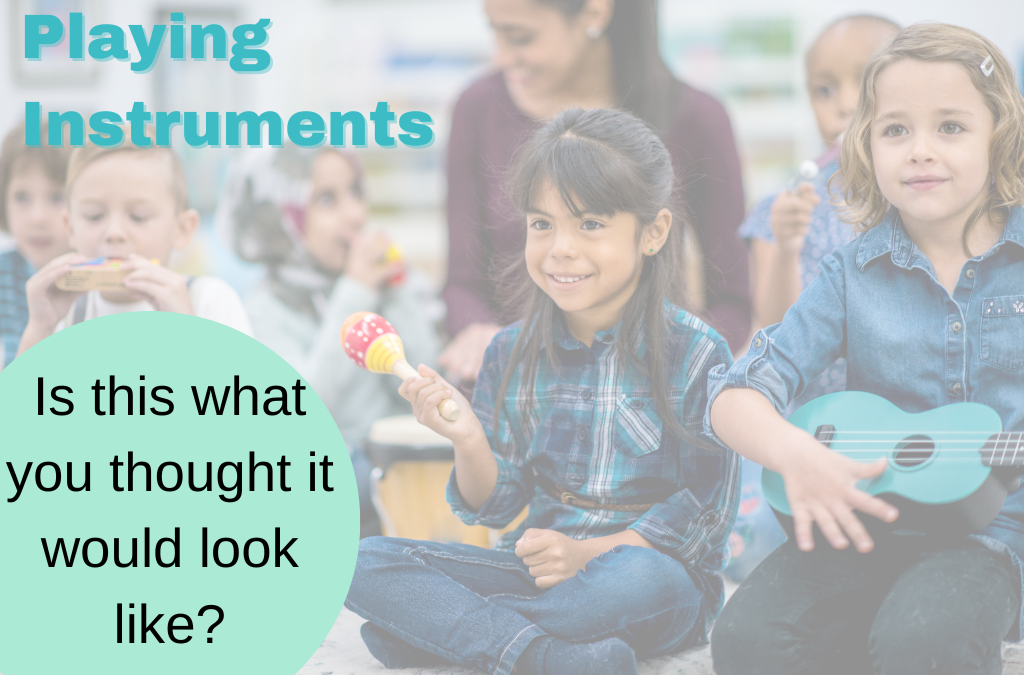
#2 State your expectation
I know you have heard this classroom procedure before, “Don’t put instruments in front of students and expect them not to play.” True, but there is a way to do it. If you read my blog, 4 Ways to Plan for Classroom Management: The Secrets New Teachers Want, you know I talk about defining expectations. “My classroom expectation is defined, but my attitude is welcoming, playful and positive.” It is the same for playing instruments. My expectation is…
Students will follow my directions and play instruments when and how I say to play.
Classroom Procedures for Kindergarten on Up
Students can share, wait their turn, follow directions on any instrument from yes boomwhackers to xylophones, drums and auxiliary percussion. Here is my secret.
#3. Think like a Kindergartener
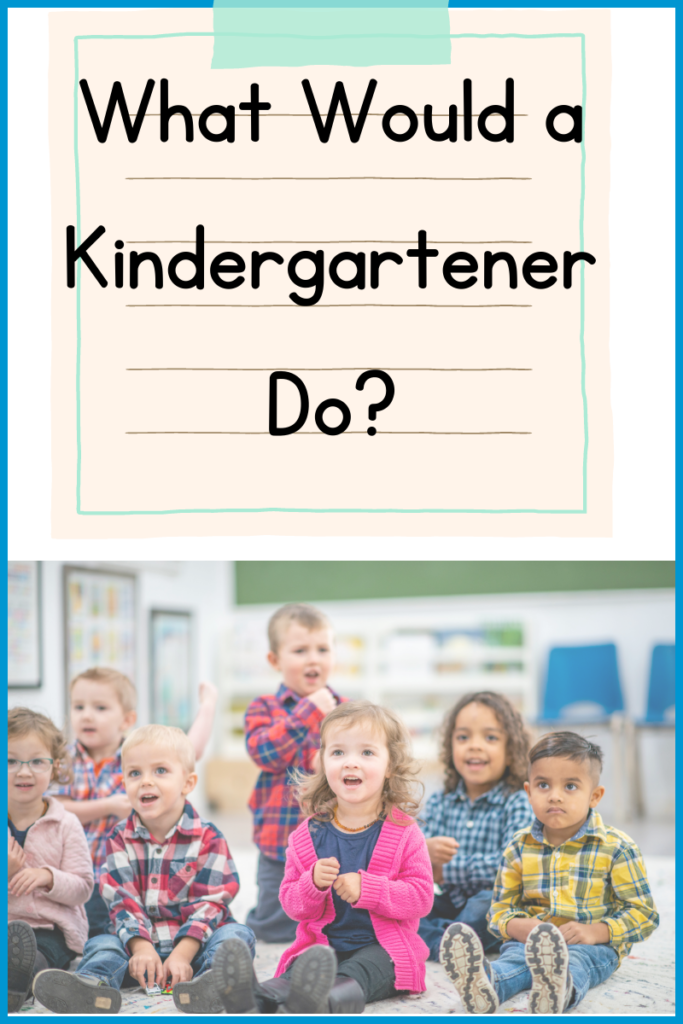
I go through all kinds of examples and ask them for the answer. They love knowing the right answer.
- Build excitement: “I’m so excited because today we are going to play my favorite instrument, the boomwhackers.”
- Teach respect and care for the instrument: “The boomwhacker is made from plastic and can easily dent. I have seen it happen and it made me so sad (said dramatically).”
- Make a list and let them answer all together with a resounding “No.”: Should we….
- Hit our friend with the instrument?
- Pound it on the edge of our shoe?
- Strike it on the edge of the stage?
- Throw it across the room?
You can have fun with this and cover quickly just about everything possible that will happen. Teach them that instruments are expensive and we want to keep them for many years to come, so everyone in the school can enjoy hearing them be played.
Understanding Their Feelings
Someone will cry or get mad if they don’t get the instrument they want, so you can plan for that too. “What happens if we don’t get the instrument we want?” This is where I have a lot of fun.
Should I….
Get really mad?
Spit? (This one gets lots of giggles)
Kick?
Cry?
Oh it can happen, so try to cover all things. You can show understand for their feelings by saying “Oh, but I really wanted to play the long red boomwhacker, and I can’t cry if I don’t get to play it?” They just love it and eat it up. “Okay” (said with dejected resolve.) Did I tell you musical theater is my background? Yeah, I bring my best acting skills to kindergarten.
Classroom Procedure When Ready to Play
Now you are ready to move on to the scary part, actually letting them play or almost. “You are each going to get a boomwhacker one at a time.”
Know this, that will prompt a mass exodus of students running to grab a boomwhacker.
It doesn’t matter what grade they are in. All they heard was get a boomwhacker. Be sure to say beforehand “DON’T MOVE YET.” Then you can keep going, “Please place it on the floor in front of you and wait till I say to play.” Follow the same procedure if you plan on handing out an instrument.
“Do you get to play the instrument right away?”
“Where do you place it?”
“When do we play?”
Have students go one at a time. So the first student is modeling the correct procedure for the class. Wait to see if they followed directions. Then shower them with praise.
“I love the way Ryan placed the boomwhacker on the floor and is sitting waiting to play. Great job Ryan! You are amazing! I knew I could trust you.”
Someone will play. It happens. Always stop to redirect. It takes consistency with a balance of firmness and kindness. Put yourself in their shoes. It is hard to learn how to wait with such a cool instrument sitting in front of you. “Criss cross applesauce spoons in the bowl,” or any similar signal gives their hands a place to be.
“Woah, Do you play the instrument yet?” (everyone answers)
“Where do you place it?” or “Place it on the floor.”
You need to know your students well enough to know who needs a more direct, firm approach. Then reaffirm with praise “That’s better, Great job or thank you!”
Continue to use praise as the procedure continues “What a great class you are all doing so well waiting.”
Classroom Procedure: Teacher Role in Classroom Management
Once everyone has their instruments you have a choice. Start right into modeling correct playing, with my turn, your turn on 2 or 4 beat echo patterns, or let them get some “monkey playing out.” Again you just have to gauge your class and know what they can handle.
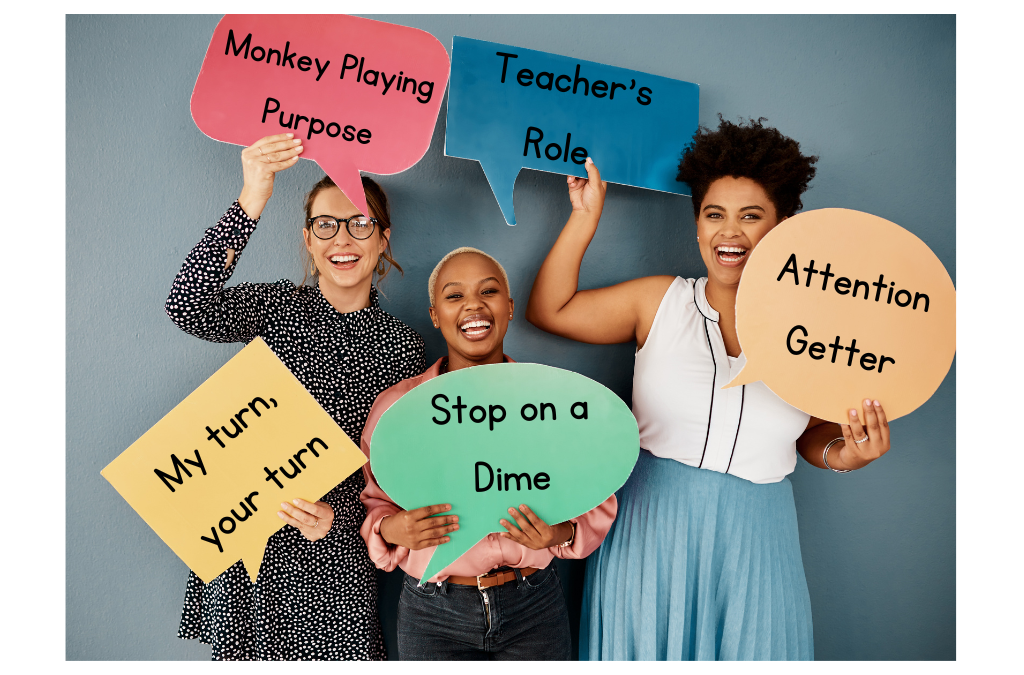
Monkey Playing Purpose
Sometimes you can see they are really excited about playing and just need a minute to get some experiment playing out. Monkey playing is letting them get their wiggles out by playing randomly and following the director’s cues. After playing, tell them you call that monkey playing. It doesn’t sound organized or together like musicians play, so they know the difference. Before you let them experiment with their boomwhacker, a clear stop signal should be established. There are so many clever ones to use.
Attention Getters
- Call and response: commercial jingles, familiar song lyrics or favorite cartoon shows:
- Number countdown: 5 4 3 2 1
- Solfège sing (like a countdown): sol fa mi re do
- Rhythm clap or echo response: Ta ta ti-ti ta
- Sound effect on an instruments
Stop on a Dime
But in this case you want a fast immediate stop. With older grades, 2nd on up, all you need is one word, “respect.” When playing drums, I teach about respect within a community and drummers show respect to the leader. Students should place each hand on their knees and focus attention on the leader. If students are playing xylophone they criss cross mallets across their chest. I call this a “rest position.”
For kindergarten and 1st grade get them to focus on you. When you play, they play. This teaches them to focus on the director. When you stop, they stop. You can vary the time from short (3 seconds) to long (10-15 seconds). They always have to be watching you to catch when the beat stops.
Make it a “gotcha game.” If they are playing when you stop, say “gotcha,” and then make it a challenge. “I bet you can’t beat me. I’m really good.” Or, “I just love it when I win.” The challenge is on and in a snap they are focused ready to play. Always shower them with praise when they can stop on a dime. “You are amazing! You got me. Best class ever!”
Yes, and for that little one who is not going to follow directions. They get one warning and the instrument is taken away. The warning comes with “I don’t want to take your instrument away because I really want you to get to play, but when you…..”
#4 Supportive Behavior Correction
When the instrument is taken away, let them know they can earn it back by showing they can follow directions. After a bit, I ask if they are ready to try again. You are teaching them the behavior you want and giving them chances to learn that behavior. This also demonstrates for the class where the boundary is. They need to know you want the best for them, and also what behavior they need to correct.
Directing Cues
My turn your turn echo playing teaches playing in time with music, steady beat, rhythm and following non-traditional directing cues. I place one hand on my chest for my turn and extend my arm out towards students with an open palm up for your turn. When starting the echo playing, pair the words “My turn” and “Your turn” with the gestures. Then you only have to give a silent gesture after that.
Use 2 to 4 beat rhythm patterns and keep your gestures in time, so they learn to respond like a musician would. If using boomwhackers, you can also model best practice for playing all without saying anything. Play by tapping the floor, palm or thigh and vary dynamics. You can do this on drums too!
#5 Let Students Make Music Decisions
Add creativity, by having students raise their hand to give suggestions of places to play. Playing by hitting your head always comes up. Yes, do try it. Someone will say that hurts. “Yes it does, that’s why you have to tap lightly.” I let them explore areas also looking for the best music sound – timbre. Then we can decide as a class what area worked best. They are more apt to buy into making music when they are a part of the decision making process.
Classroom Procedure: Classroom Clean Up
Classroom clean up can happen by follow the same classroom procedure that you used to hand out instruments. Students love being helpful and learning to keep your room well organized as they see it on day 1. This saves the energy that you will need to rotate through many classes per day, and sets your music room up to run successfully for many years to come.

Save time with engaging music lessons from CLS Music Essence you can use tomorrow with little to no prep. You and your students will love music escape rooms or share a music culture of the month with this engage Around the world Music Cultures and so much more. See all you are missing here.

2 Comments