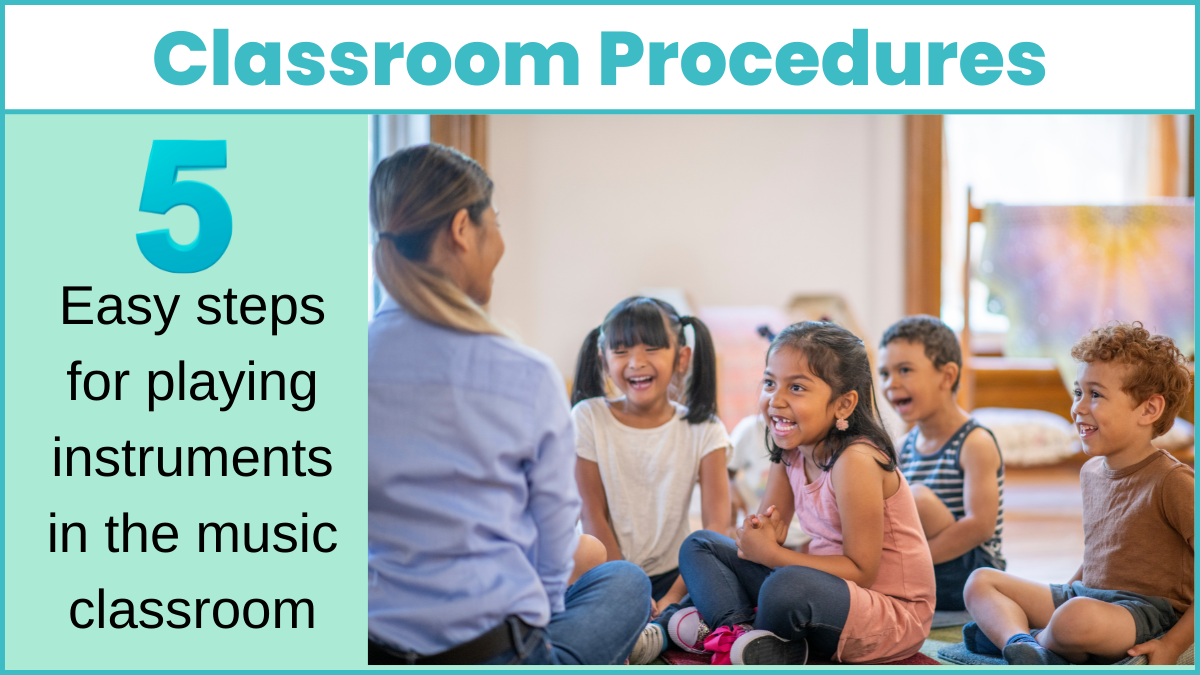
5 easy tips – how to play on xylophone – get elementary students started
These how to play on xylophone music teaching tips will get you going and turn playing into your favorite go-to music activity and yes your kindergarten students will love playing too!
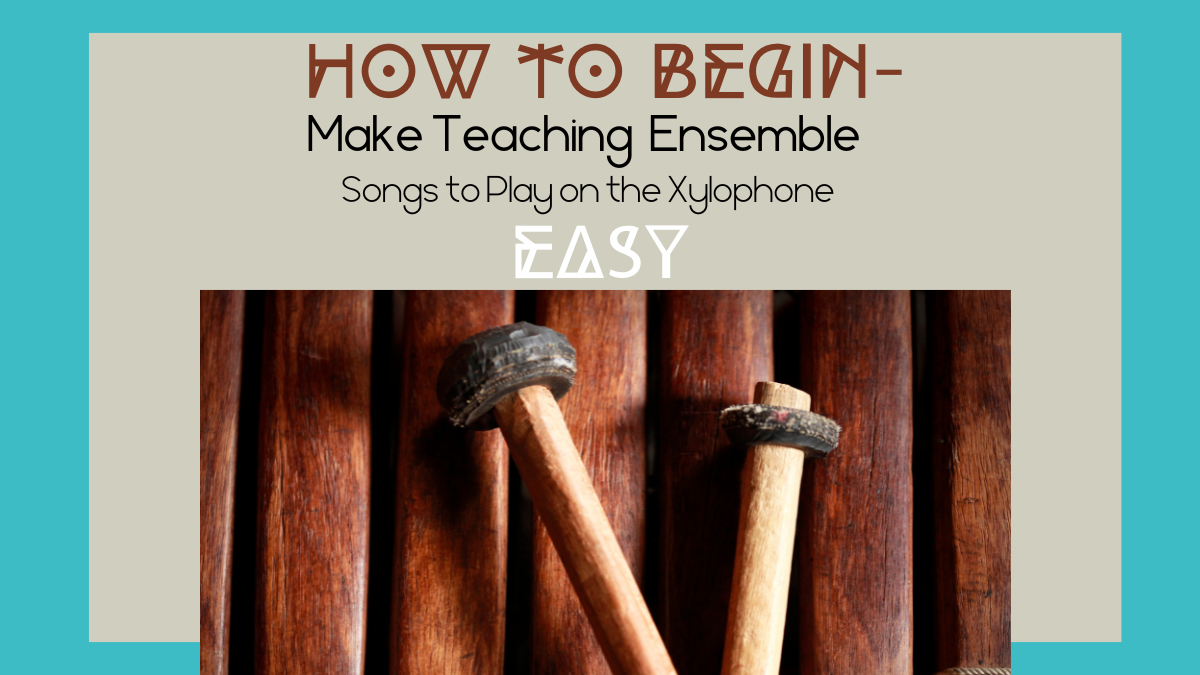
For teaching 3 part songs see How to begin-Make Teaching Ensemble Songs to Play on the Xylophone Easy.
Set up Xylophone playing for success
When teaching students how to play on xylophone consider what grade level you will be teaching. Will your students be able to set up the instruments or do you need to preset your room? If you are one of the lucky ones and have instruments on carts with wheels then this takes little effort, but if you have to carry an instrument then knowing your class abilities will be important.
Younger Grades K-2
For younger grades especially kindergarten preset instruments in a line across your classroom when showing how to play on xylophone. Make sure to have enough room for students to form a line with 3-5 students behind each instrument (more in sharing tips). If possible, only set up alto and soprano xylophones. I find the bass xylophone is too big for students to stand or kneel behind. Plus it causes sharing issues when students determine that is the only one they want to play.
3rd Grade on Up
Teach older students how to play on xylophone by taking the time to train them on how to set up instruments. This is a good time to introduce instrument care which gives them ownership of the instrument. I train students to set instruments in the same position they will be in for performance. This way you are ahead when training your students to transition during a performance.
Mallets for Playing on the Xylophone
It always seems like a mystery when trying to decide which mallets to use on the xylophone. It really comes down to what sound you want to produce. The hardness of the mallet will change the color/ timbre of the tone. Harder mallets sound brighter and louder, while soft mallets produce a warmer and more rounded tone.

I prefer the blue yarn medium mallets when showing elementary students how to play on xylophone. Simply because it protects the bars from getting damaged and still produce a decent sound. I do think the medium yarn mallet lacks a crisp, clear tone, so if you have an advanced group you trust to play the bars with care try some harder mallets or even rubber mallets.
Once you know your students well, you can also adjust mallets depending on the player. It is rare but sometimes you will have a student that plays so quietly and needs a harder mallet. This is especially true if it is a student who you can depend on to be accurate and will help lead others if they could only be heard.
Position – How to Play on Xylophone
This is the secret sauce to keep your classes running smoothly when teaching students how to play on xylophone. Start by establishing this with kindergarteners and it will carry through all the grade levels. It also creates discipline and respect for playing any instrument.
Rest Position
Begin with a rest position. I teach students to hold mallets crisscrossed against their chests when demostrating how to play on xylophone. I call this the “rest position” or “respect position.” Students are instructed to hold their mallets in this position when they are not playing the instrument or on my command of speaking the words “rest position” or “respect position.”
This is especially important when I hand instruments to each kindergarten student or ask older students to go get mallets from the tote. Follow this up with lots of positive reinforcement. “Look at Michael! He is doing a great job of holding his mallets in the rest position. Way to go Michael!”
Ready Position
Next is the ready position. This is holding your mallets hoovered above the center of the bars ready to play. Teach students to grip mallets with pincher fingers, thumb and index, at ¾ of the way on the mallet and gently wrap the fingers around. Use the analogy of gripping the handlebars on a bike for the ready position.
Playing Position
The playing position is striking the bar in the center with the mallet head. It takes a lot of reminders as students often will strike the bar on the edge which will flip the bar up and off. Playing the bar too hard will also flip the bar off, so learning to play in the sweet spot (center) takes time and a lot of practice.
After students are done playing mallets can also rest on the xylophone with a simple rhyme:
Head feet go to sleep.
Match up the head of the mallets and the stick or grip part is the feet then lay the mallets across the bars to sleep. Younger students especially like this.

How to Play Xylophone When Sharing
Chances are your students will be sharing or taking turns on the xylophone. The challenge is keeping everyone engaged and learning at the same time. Again this is different depending on the grade level and the expectation you establish.
Line-up
The expectation for playing xylophone in kindergarten is to introduce the instrument and teach beginning techniques such as how to hold the mallet, where to strike the bar, and a steady beat. I have students in straight lines behind each xylophone. When they are done with their turn the student playing hands the mallets to the person standing behind them and goes to the back of the line.
Keep lines short only 3-5 students and the playing time should be brief to keep the attention of those in line. Also, give the line a task while they are waiting for their turn to play such as clapping or patting the steady beat.
Paper Xylophone
Another sharing technique is to have students play on a paper drawing of a xylophone when it is not their turn. Use heavier paper, cardstock, or laminate to make the xylophone more durable. Students could even personalize their own xylophone by cutting out the drawing and coloring it to their liking.
Side by Side
Students in 3rd grade on up can also double at an instrument sitting side by side. While I often play across from students to model playing, I don’t recommend students sitting across from each other for purely musical reasons. I like students to associate playing with longer lower bars on the left and higher shorter bars to the right.
Students who share an instrument may have to play an imaginer B or share a bar. I have learned to not be too specific on rules for sharing because I have seen students come up with unique ways of taking turns, alternating, and sharing when playing.
When this happens use that pair as a positive example for the rest of the class to watch and get an idea of how to share.
How to Play on xylophone
The xylophone is the perfect instrument to set up in a pentatonic scale. By removing bars students can improvise, create harmony and make music together that sounds great.
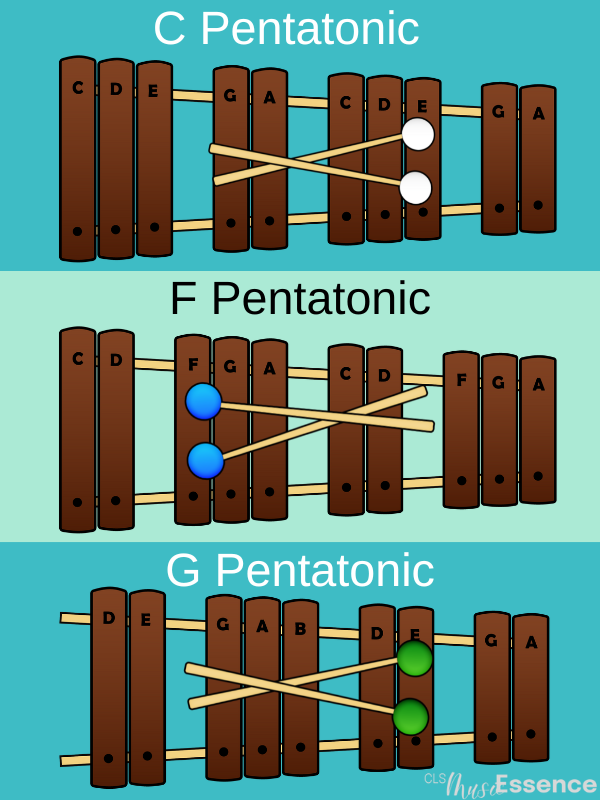
Young students can start off with sliding glissandos to hear the pitches go higher or lower when learning how to play on xylophone. Then lead them to play any note to a steady beat. Older students can experiment with set rhythm patterns while still playing any note. Plus give students a chance to solo by playing any note in the scale and varying the rhythm.
Coming soon: Xylophone Ensemble Ideas for Fantastic Performances!
Links below include xylophone music to extend your lesson plans.
Share music around the world including songs to play on a variety of instruments. See more here.


4 Comments